

In this lab, we will learn how to create a public subnet and test it with an EC2 instance.
Overview
- VPC
- Create a VPC and a public subnet
- EC2
- Create an EC2 instance inside the public subnet
- Setup the website in the EC2 instance using “httpd“
- Access the website via the public IP address of the EC2 instance
1. VPC – Create an empty VPC
- Click “Create VPC“
- VPC settings
- Check “VPC only“
- Name: “My VPC“
- Check “IPv4 CIDR manual input“
- IPv4 CIDR: “10.0.0.0/24“
- Check “No IPv6 CIDR block“
- Tenancy: “Default“
- Click “Create VPC“
2. VPC – Create an internet gateway and attach it to the VPC
- Click “Internet gateways” on the left pane
- Click “Create internet gateway“
- Settings
- Name: “My-IGW“
- Click “Create internet gateway“
- On the internet gateway “My IGW” page
- Click “Actions” -> “Attach to VPC“
- Select “My VPC“
- Click “Attach internet gateway“
3. VPC – Create a subnet
- Click “Subnets” on the left pane
- Click “Create subnet”
- VPC ID: Select “My VPC“
- Subnet settings
- Name: “My-Public-Subnet“
- Availability Zone: “No preference” or any of your choice
- IPv4 CIDR: “10.0.0.0/28“
- Click “Create subnet“
4. VPC Subnet – Update the route table
A public subnet has a route to send all non-local traffic to the Internet Gateway.
- Click the subnet you created before.
- Click the “Route table” tab
- Select the route table name
- Click the “Routes” tab
- Click “Edit routes“
- Click “Add route”
- Destination: “0.0.0.0/0“
- Target: “Internet Gateway” -> “My-IGW“
- Click “Save changes“

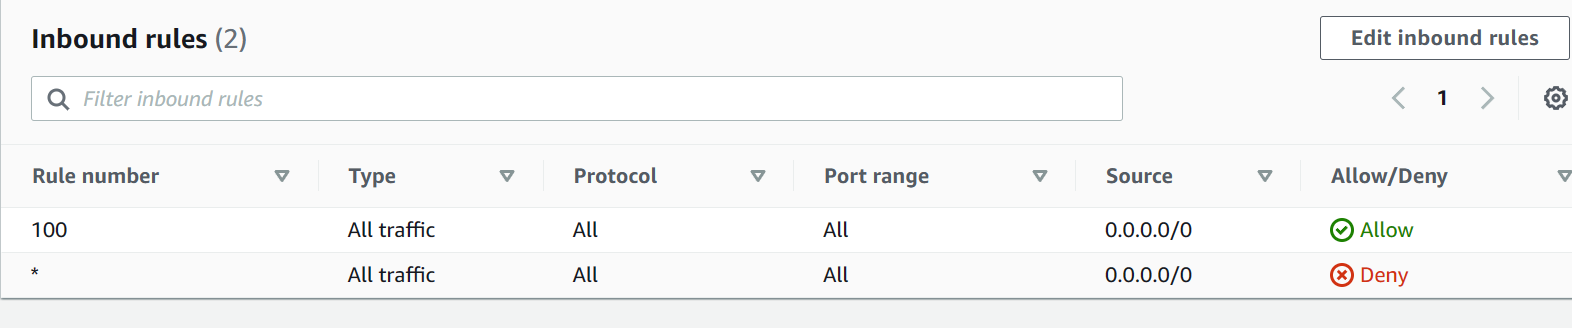
5. VPC Subent – Default Network ACL
A default NACL allows all inbound and outbound traffic.
- Use the default NACL

6. VPC – Create a Security Group for the website
A new Security Group allows HTTP (80) and SSH (22).
- Click “Security groups” on the left pane under the “Security” section
- Click “Create security group”
- Name: “MyWebSG“
- Description: “Web Site SG“
- VPC: “My VPC”
- Inbound rules
- SSH, TCP, 22, Source: 0.0.0.0/0
- HTTP, TCP, 80, Source: 0.0.0.0/0
- Outbound rules
- Allow all traffic
- Click “Create security group”

7. EC2 – Create a web server instance
- Click “Launch instance”
- Name: “MyWebServer“
- Instance: “Amazon Linux 2 AMI“
- Instance Type: “t2.micro“
- Key pair: “Proceed without a key pair” or “Create new key pair“
- Network settings -> Click “Edit”
- VPC: “My VPC“
- Subnet: “My-Public-Subnet“
- Auto-assign public IP: “Enabled“
- Security group: “Select existing security group” -> “MyWebSG“
- Advanced details
- type the following commands in the “User data” section
- Click “Launch instance“
#!/bin/bash
yum update -y
yum install httpd -y
echo "<html><body><h1>Hello World</h1></body></html>" >/var/www/html/index.html
systemctl start httpd
systemctl enable httpd
8. EC2 – Test
- Wait until the EC2 instance is ready
- Click the instance page and copy the public IPv4 address
- Open the browser and paste the address with the ip: “http://{pupblic-ip}“
